


Cupping at Home with Burundi Three Ways

Our Kibingo project is a perfect time to try cupping at home, which will help you taste the coffees alongside one another to really understand how processing methods change flavor profiles.
You’ll need:
- Three spoons (1 for tasting and 2 for “skimming”)
- At least one vessel per coffee (we use 5oz bowls, you can use anything from 4oz to 12oz).
- A small bowl on the table for hot water for rinsing tasting spoon
- A timer
- A cup or mug to for excess coffee
STEP 1
Weigh out your coffee, start heating up your water. Use a coffee:water ratio of 1:20. So if you’re using a 12oz mug (~350 mL), you need 17.5 grams of coffee.
STEP 2
Grind each coffee like coarse sea salt (similar to a drip coffee machine, coarser than a pourover) and put the grinds in their own mug.
Sidenote: Necessary at this step for these coffees is a “sniff test.” Do the ground coffee smell like coffee, or like stale potato? If it smells strongly of potatoes, no worries. Dump those grounds and do it again. It shouldn’t happen more than once per bag, but it’s worth knowing about for any Rwandan, Burundi, or Congolese coffees. [More on the ‘potato defect’ here]
STEP 3
When your water is boiling, start your timer and top of each mug. Make sure all the grounds are wet. Also, add some hot water to your rinsing bowl. Let the mugs sit undisturbed for four minutes to allow the coffee to brew.
STEP 4
At four minutes on your timer, “break” the crust that’s formed on your coffee by shallowly dipping a spoon and take a big whiff over the mug; this is the best time to get a snapshot of the aromatics. Once the crust has softened into a foamy layer on top of the coffee, use two spoons to skim off the foam. The foam is very bitter! But be careful to not disturb the grounds that have settled near the bottom of the vessel.
Now we wait…
STEP 5
At approximately 15 minutes, taste through the coffees. Do this by dipping your tasting spoon in one mug at a time, and taking a big slurp of coffee, like one might at a wine tasting (this helps cool and aerate the coffee, as well as distributing the coffee evenly around your palate). Dip your spoon in the rinsing bowl between each coffee. If you’re already highly caffeinated, it’s ok to spit the coffee out into a separate cup.
ONE MORE TIME: Taste through the coffees again at about 25 minutes when the coffee has cooled to room temp. Coffees change dramatically from hot-to-cool; some get better, some get worse, and some have remarkably different textures and tasting notes. It’s a good exercise to understand what a coffee is capable of!
Go ahead and take notes! Keep in mind as you’re tasting each coffee: tasting notes, acidity, sweetness, mouthfeel, bitterness, roast depth, etc.
CLIFF NOTES
- Needs = at least 1 vessel per coffee, 3 spoons, a small rinsing bowl, a scale, a timer, and boiling water.
- Ratio = 1:20
- Grind = drip (medium coarse, like sea salt)
- Time = brew undisturbed 4:00, taste at 15:00 and 25:00
- Method = start time, and pour water just off boil into each mug with grounds to wet all grounds. Leave undisturbed. At 4:00, break the crust and skim the foam/grounds at the top without disturbing the settled grounds using two large spoons. Taste (at 15:00 and 25:00) one coffee at a time by taking a large spoonful of coffee off the top of the mug and slurping. Rinse the spoon between each coffee with hot water.
Read more
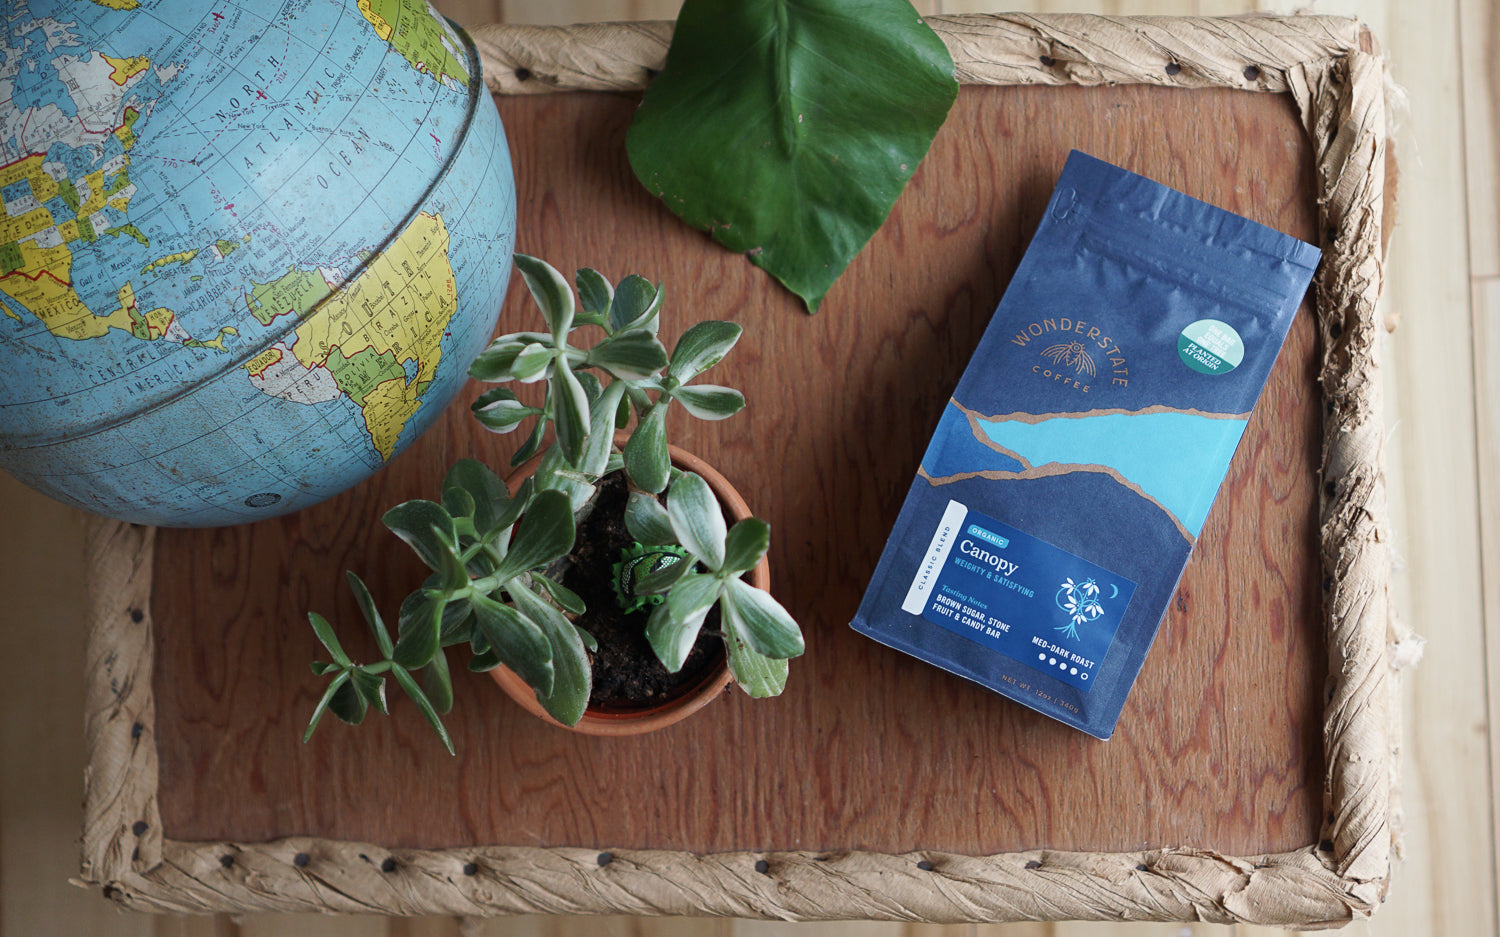
We think truly great coffee has to serve a collective future. Organic Canopy Blend is an embodiment of that ideal. Not only is Canopy a delicious dark roast coffee, it's also a coffee that is cre...
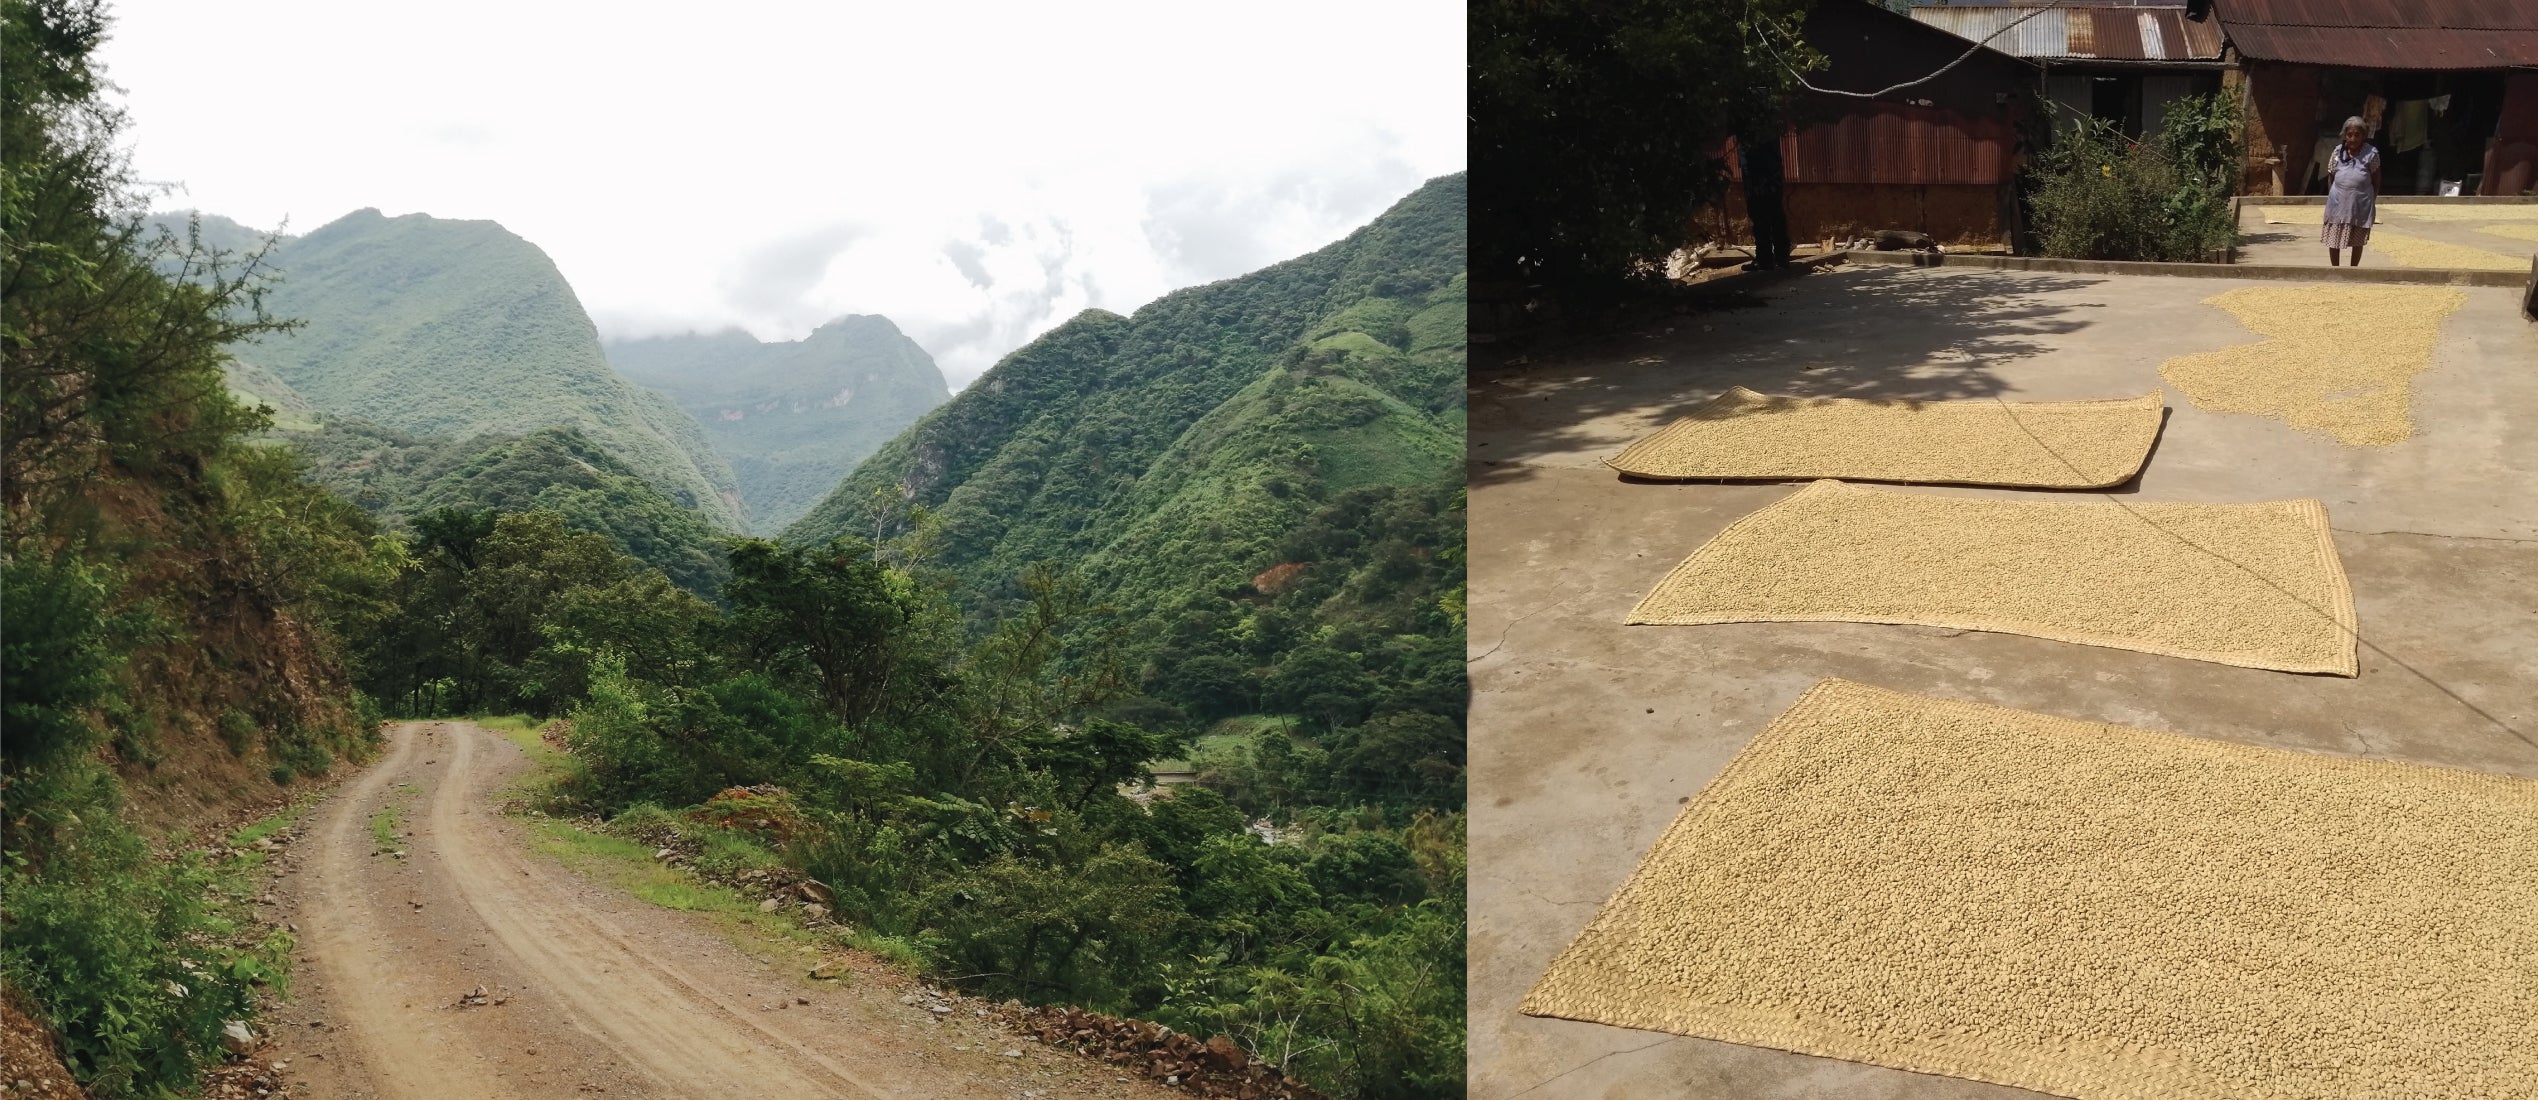
About the Producer Santa Cruz Ozolotepec is a small coffee-growing community of less than 1,000 people in the Southern state of Oaxaca. We first visited Oaxaca in 2016 and have been buying small...